I gave away the last of my Girl Scout supplies this week, including our "bridge" from last year's bridging ceremony. And I was reminded at the time that I hadn't blogged about it at all! Just goes to show how crazy busy life gets at the end of the school year. So, while I may not be an active Girl Scout leader right now, for those of you that are and may still be looking for Bridging ideas - this is for you!
The posters are some the girls helped create throughout the year. The puzzle pieces were each decorated by the girls at the beginning of the year then all joined together to show individuality and how we fit together as a group. We added to it as new members joined. The one on the right (green background) was part of something we did for another badge (wish I could remember which one) later in the year. The girls did their fingerprints in ink then drew faces on them as kind of a self-portrait. The group photos were ones we took on a troop hike.
On top of the rainbow table were the scrapbooks the girls had worked on throughout the year. Yep - the covers are decorated with GS Cookie boxes!
The ceremony:
We started out as we do with all of our activities - one girl led the pledge of allegiance then another led the GS law and promise. Then we did the presentation of all the patches and certificates for the last part of the year, plus final cookie patch/incentives presentations.
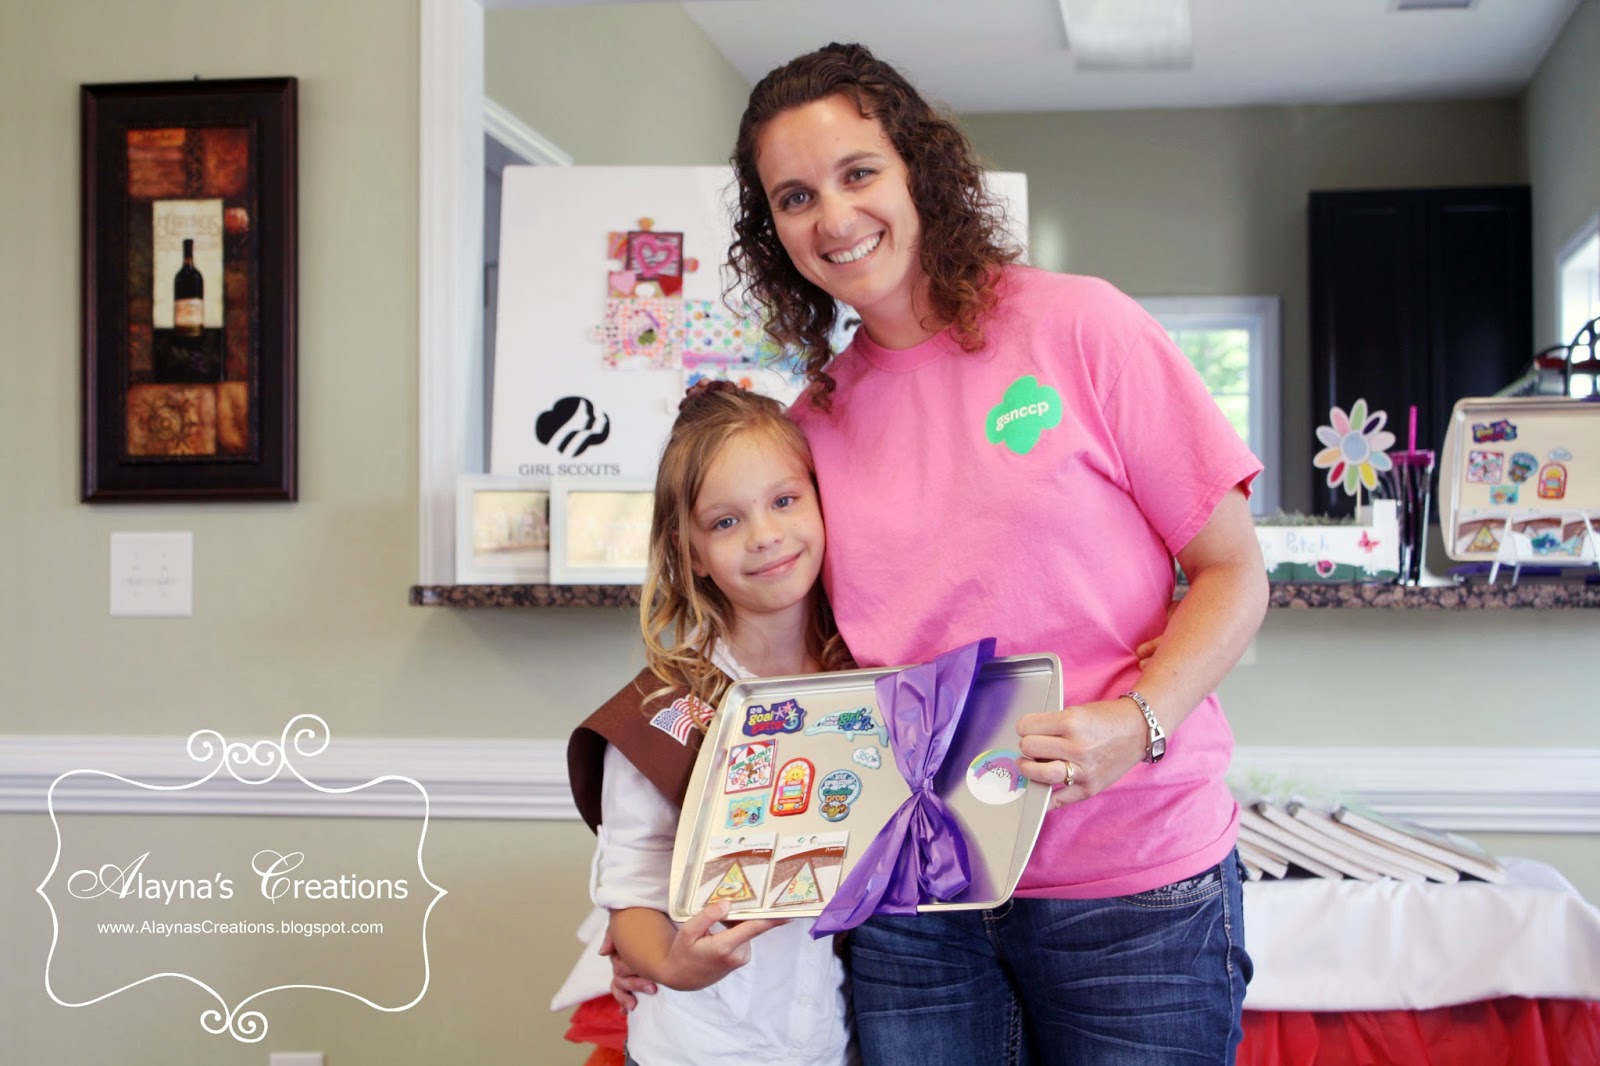
The flowers on the left were printed onto cardstock then any of the petals the daisies had earned were attached to that. All of the other badges for the year were attached to cookie sheets (as a lot had to do with cookie season) to make for a fun display/presentation. (I used double stick tape to attached them)
We also called each girl up and pinned on her star and membership disc for the year.
Then it was time for the bridging. What do you think of our bridge? I wanted something inexpensive and easy to store so we could use it year after year. The bases are 2x4s that I painted white and drilled holes into to hold dowels. At the top of the dowels I attached ribbon (I used a staple gun but thumb tacks would work well too) then used the ribbon to attach the rainbow colored deco mesh that I strung between the dowels. (One roll of deco mesh was the perfect length to cover both sides) Total cost of the bridge (even if I hadn't had most of it on hand) was probably less than $15.
Each girl recited the Girl Scout Promise from memory and was given her "wings" before walking across the bridge. Most of the girls bridging were brownies moving up to juniors, but in the case of the single daisy we had bridging to brownie, she was given a silk flower (daisy of course) to carry across the bridge. They all got their bridging patches on the other side.
Our original plan had been to end everything with an outdoor hot dog/marshmallow roast but the weather had been really rainy so at the last minute (well, the day before) we made the call to move the ceremony inside. As you can see, it wasn't raining during the ceremony but the ground was pretty muddy so it was a good call.
We ended up bagging up all the Smores supplies we were going to use for the fire and sending them home as individual Smores' kit party favors.Oh - and it's not pictured but the tables we used for eating were covered in red tablecloths and had a couple of those canning jars (with a flower inside and tied with a rainbow ribbon) as centerpieces. Simple, inexpensive, and not likely to blow away if the party had been held outside.


2 comments:
Are you going through withdrawals? What made you decide to stop being a leader? Love ya! Hope you have a great day!
Pretty helpful information on arranging girls scout bridging ceremony. Couple of months ago, I arranged my niece’s girl scout bridging ceremony at one of the excellent venues in Los Angeles. Invited all family and friends and enjoyed there a lot.
Post a Comment