


Hours and hours, days and weeks, many trips to the home improvement store, more cash than we wanted to spend, sweat, aching backs, a couple of blisters, an ant issue, a blown tire, stain and gravel and mulch...
I now declare my yard to be DONE! Or at least as done as it's going to get this year because franky I'm tired. And sick of spending money in large chunks. And ready to have fun this summer!
We're keeping our fingers crossed that the seed we threw down in the back yard starts filling in because right now it looks like this.
 And half of the green you see under those cute 4-year-old feet is weeds. Even with the improvements our back yard is a little scary. And it could use some color and decorative touches, but I'm telling myself I know when enough is enough and I can work on flowers and planters and throw pillows next spring.
So without further ado, the Before:
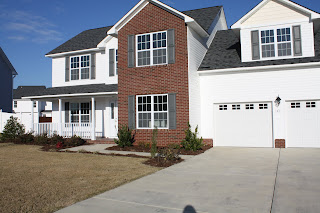
the front of the house
 a view of our back yard, looking out from the deck
the deck and the sun room

the other side of the deck and the screen porch

the same area, but what it looked like in the weeks after Sam dug the hole for the sandbox but then the pile of dirt sat there waiting for us to cart it away, stain the box, and find some sand (man was I missing having Dad and his dump truck around for that one. It's rough finding sand and gravel around here! Oh, and my back and all that hauling and shoveling - urgh)

So what work have we done on the place? Well in the front yard we re-did the mulch and moved some of the bushes. We also put down some gravel under the faucet (for better drainage and because the kids can't mess it up or get messy when they turn on the water).

The gravel also went under the deck (on top of weed paper obviously) so we don't have to deal with weeds under there ever again.

And under the back faucet. And behind the air conditioner. And we finished the rain gutter too - Sam was procrastinating on that last section above the swing because it was so high off the ground.

We installed a fence, all by our little selves! We did the back part in wood and I had to stain it all by hand. That took FOREVER (the better part of 2 weeks, doing it a couple hours every day). The front part had to be vinyl and can I just say - ick! Oh vinyl is pretty and it's low maintenance. But it isnt easy to work with. And the gate...ugh! I hate that gate. And wouldn't you know it, one of NC's crazy thunder storms and those hinges snapped right off. So I take it back. We aren't totally done since Sam has to build a wood gate (which we will then paint white and pretend it's vinyl :) ).

And there's the fabulous sandbox. Those kids LOVE that thing and I really appreciate having it. Because if there's dirt, Ty will dig, and I was so sick of trying to get him (and the neighbor kids when they are over) to quit digging holes in my poor struggling lawn. I also bought that little box to hold most of the sand toys.

The last touch was the patio. We needed something to go under the swing and fire pit. We put this and the gravel in over the weekend. In 90 degree weather with patchy rain. Do you understand now why I'm done? I'm from Utah, people - it snowed there just yesterday. I'm not made to do yard work in the heat. :)


Now look at that pretty fence. Oh and those bushes - they are some I transplanted from the front yard along with a few azaleas I added. The tree is from a neighbor that pulled it out of their front yard so they could put in palm trees (I laughed. The guy just HAD to have palm trees even though you pretty much only see them near the beach here).

More transplanted bushes.
 And a view from above because I think it gives you a better idea of exactly how much back yard I have to mow. (Yes I said I. Sam may be in charge of the mowing but so far the 2 times the back yard weeds have bugged me enough to mow them down, I've been the one to do it)
I have to say, it was totally worth it. We've already used the patio and the fire pit to roast this year's first hot dogs and smores (note to us though - this isn't UT and we should do the fire in March or April when it's cooler!). And that screen porch is fabulous. We've had dinner out there almost every night this weekend, and breakfast out there on Sunday. Love it! Now, bring on summer, baby, we're ready for it!


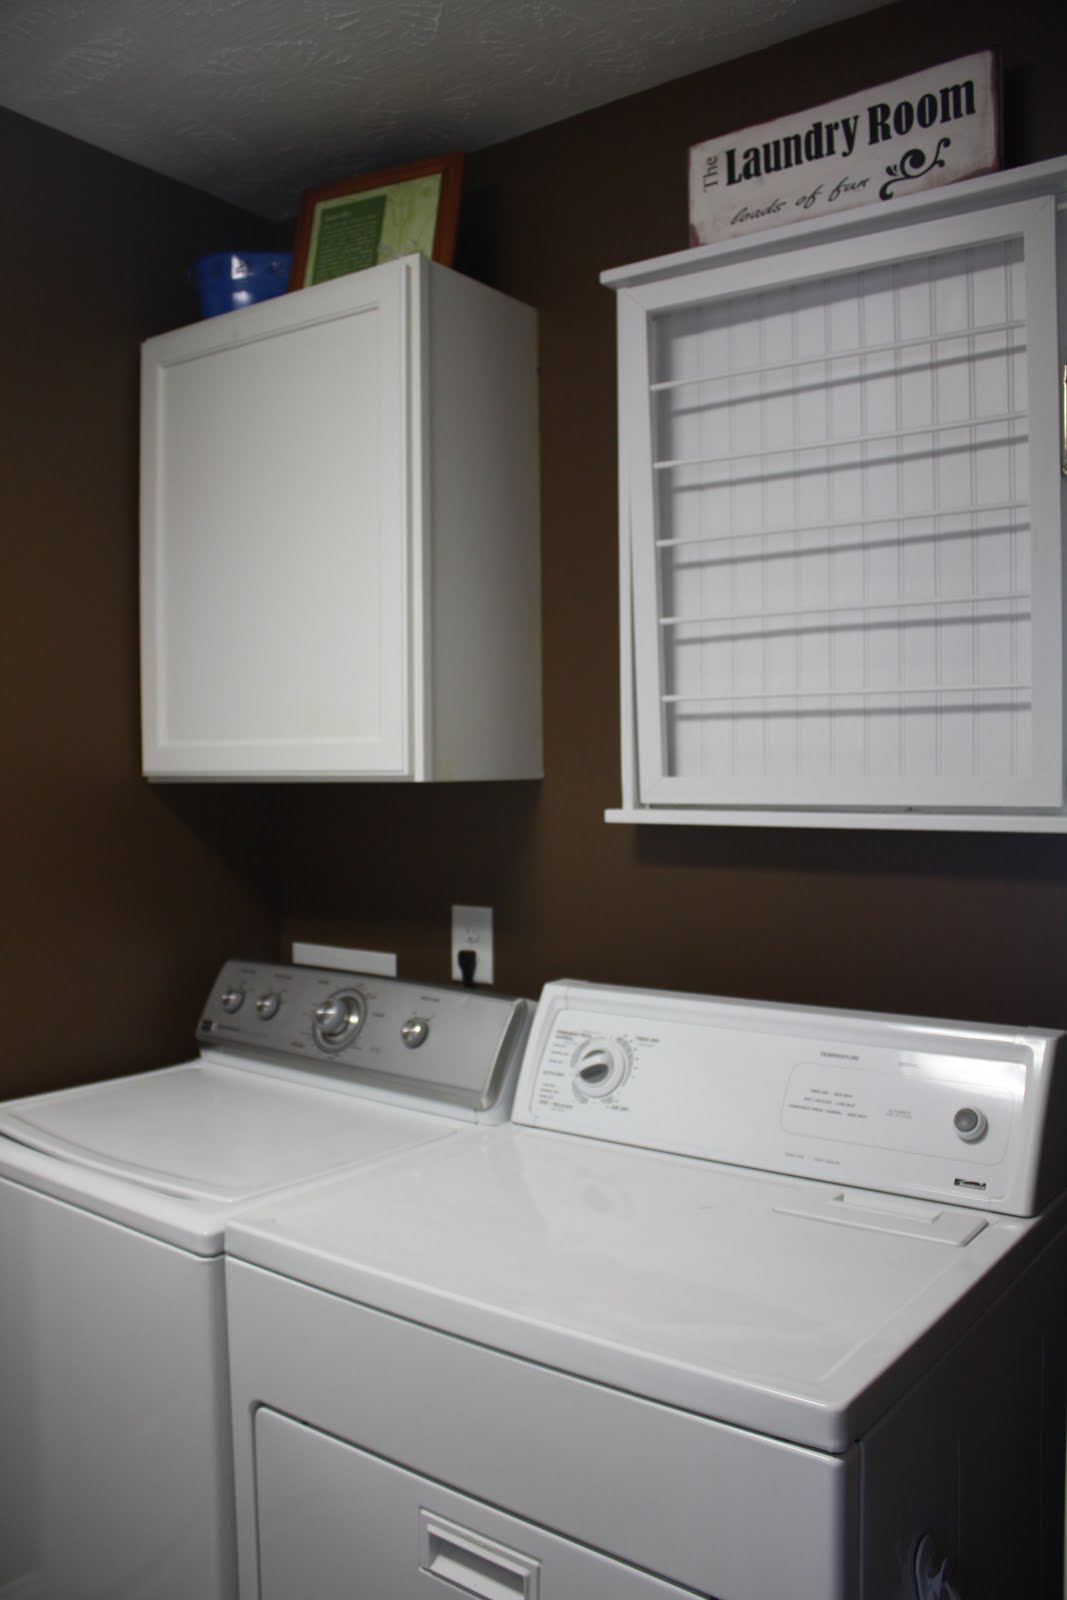
 And this is how it looks now. Like right now, as in I didn't even straighten up the shoes or put away any of the extra jackets before taking the photo :)


 and some rope trim around (smaller detail trim is harder to find than you'd think at Home Depot. This piece came from Michael's.) the bottom to dress it up a bit. And of course added the hooks (these are from Target). Then I filled in the holes and painted it all.
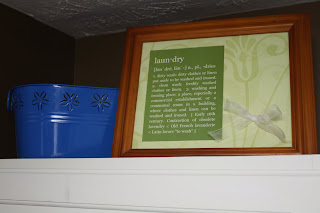
 I added a small floral arrangement and filled a couple of cylinder vases with the shells Kaitlyn collected at the beach last week.


 After!
 And After!


