


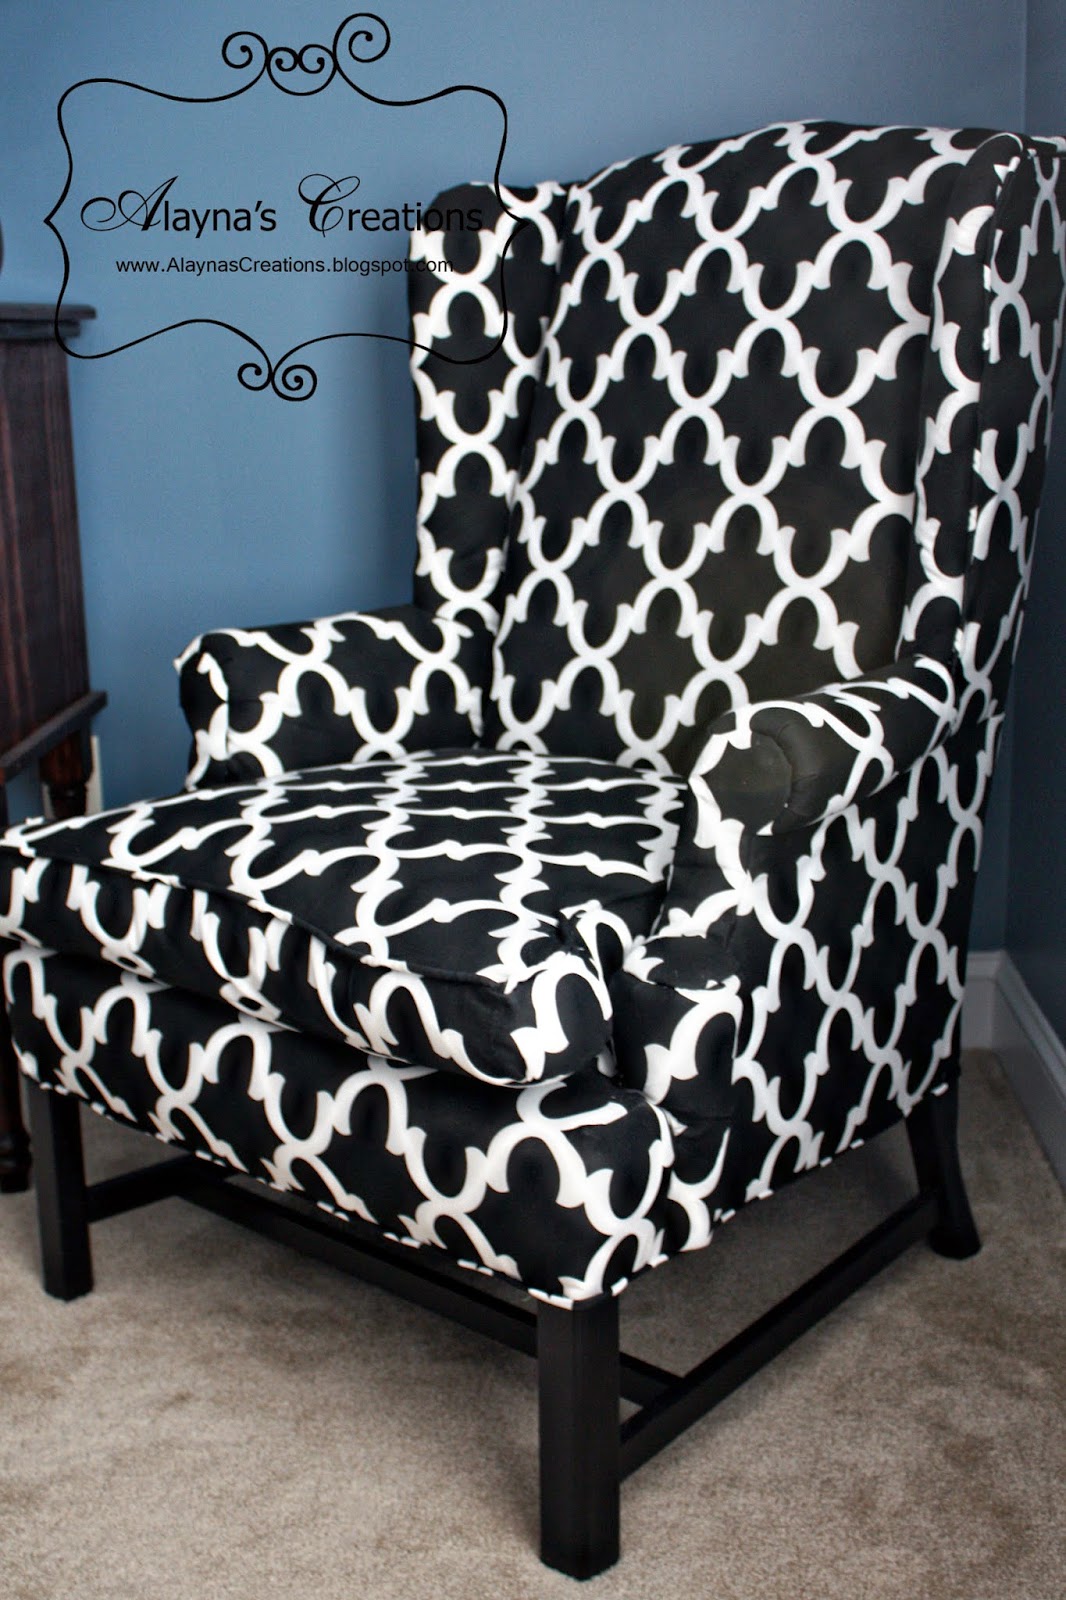
I did it! I did it! I finally tackled my first reupholstery project and woohoo! Success!

This chair in particular cost a whopping $5. Yup. FIVE DOLLARS! I figured at that price even if I messed it up I wouldn't feel too bad. And it obviously needed a little TLC.

I did a quick review of a tutorial I had found on a blog, then grabbed the pliers and dove in.

Do you know how many thousands of staples they put in one chair? Me either but it's a LOT. I gave my hand a break every hour or so of work in the hope that I wouldn't get blisters (I didn't!). And eventually I had it all torn apart.

Then I happily took a trip to the craft store to get more batting, upholstery tacks, and cording to sew the piping. And it wasn't that long (parts of two days' work) before I had it all finished! The husband was actually pretty impressed. He didn't think I would actually finish the project, let alone end up with a decent-looking chair. He should know better than to doubt me, right? ;) (He didn't admit any of this until after the chair was all put together and he had sufficiently praised my efforts lol. So I forgave him.)

-Take lots and lots of photos as you pull the old fabric off. It really helps to be able to go back and see the process in reverse, or look at a few details on how to attach the tricky pieces.
-Carefully label (number it when removed, where it went, and which side is the top!) and set aside each piece of old fabric as you remove it. Not only will you be able to use them as patterns to cut out the new fabric, but you can also refer back to them when you are assembling the chair.
-Take your time! This is a labor-intensive process and it takes its toll on your hands and your patience. When my hands were cramping up or I found myself annoyed or ready to rush through a step I would stop for a few hours or the rest of the day. The last thing I wanted was to "mess it up" and then have to see my blunder every time I looked at the chair. So take your time and do it right (or fix it right then) as you go.


3 comments:
It looks awesome! Congratulations.
how many yards of fabric did you use?
I think I bought 7 yards of fabric for the chair and had a little over a yard left over. I would probably still yards next time though, just in case I mess up ;)
Post a Comment