Menu buttons


Showing posts with label laundry room remodel. Show all posts

Friday, February 20, 2015

New Size! Wall Mounted Laundry Drying Rack

Funny how life works - all kinds of give and take, schedules, rhythms, changes, priorities, juggling. As it happens, the busy season for the laundry drying racks in my Etsy shop isn't during the build up to Christmas.  Our busiest time is January, February, May and that worked out great this year because with the move and settling in, frankly I don't know how I would have handled it all if orders had been more abundant in November and Decenber.  Now I feel like we're past the settling in part and we can turn a little more attention to other things.  
I am excited to announce that we are adding another (smaller) size option for our laundry drying racks!  This is something we get requests for quite often and I have been considering doing for quite a while now.  The new smaller racks are 23" wide - perfect for tight spaces without being too small for adult-size clothing.  Available painted white or unfinished for any DIYers out there.
(And isn't it fun that I was able to take some photos of the new racks using our old hay barn as a backdrop?)

Check out the listing in the shop here.  Or the unfinished version here.  And of course our standard size is available in painted and unfinished options as well.

Wednesday, May 11, 2011

Finishing Touches - Laundry/Mud Room

Time to show off my laundry/mud room! Do you know how happy I am to have 3, count them - THREE rooms entirely done?!

I'm sure you remember the great bench, shoe cubbies and coat hooks my husband installed. But that space above them needed a little dressing up. So I took some photos of our feet (fitting for the mud room, right?) and when I ran across a deal on Artscow I had them printed in sepia on canvas. The deal was for 12x12 unstretched canvas and I decided to pop them off the wall instead of putting them in frames. So I cut a piece of leftover MDF from our closet projects to size (yes I cut it all by myself! I'm getting to be seriously handy with the power tools), painted the edges black, then used spray adhesive to attach the canvas. Lovin' it! (all but that center photo - I couldn't get quite the look I had in mind using the self timer, but it'll do)
Here's the original Before:

And this is how it looks now. Like right now, as in I didn't even straighten up the shoes or put away any of the extra jackets before taking the photo :)
After:


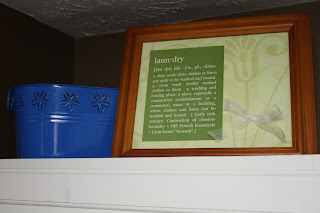
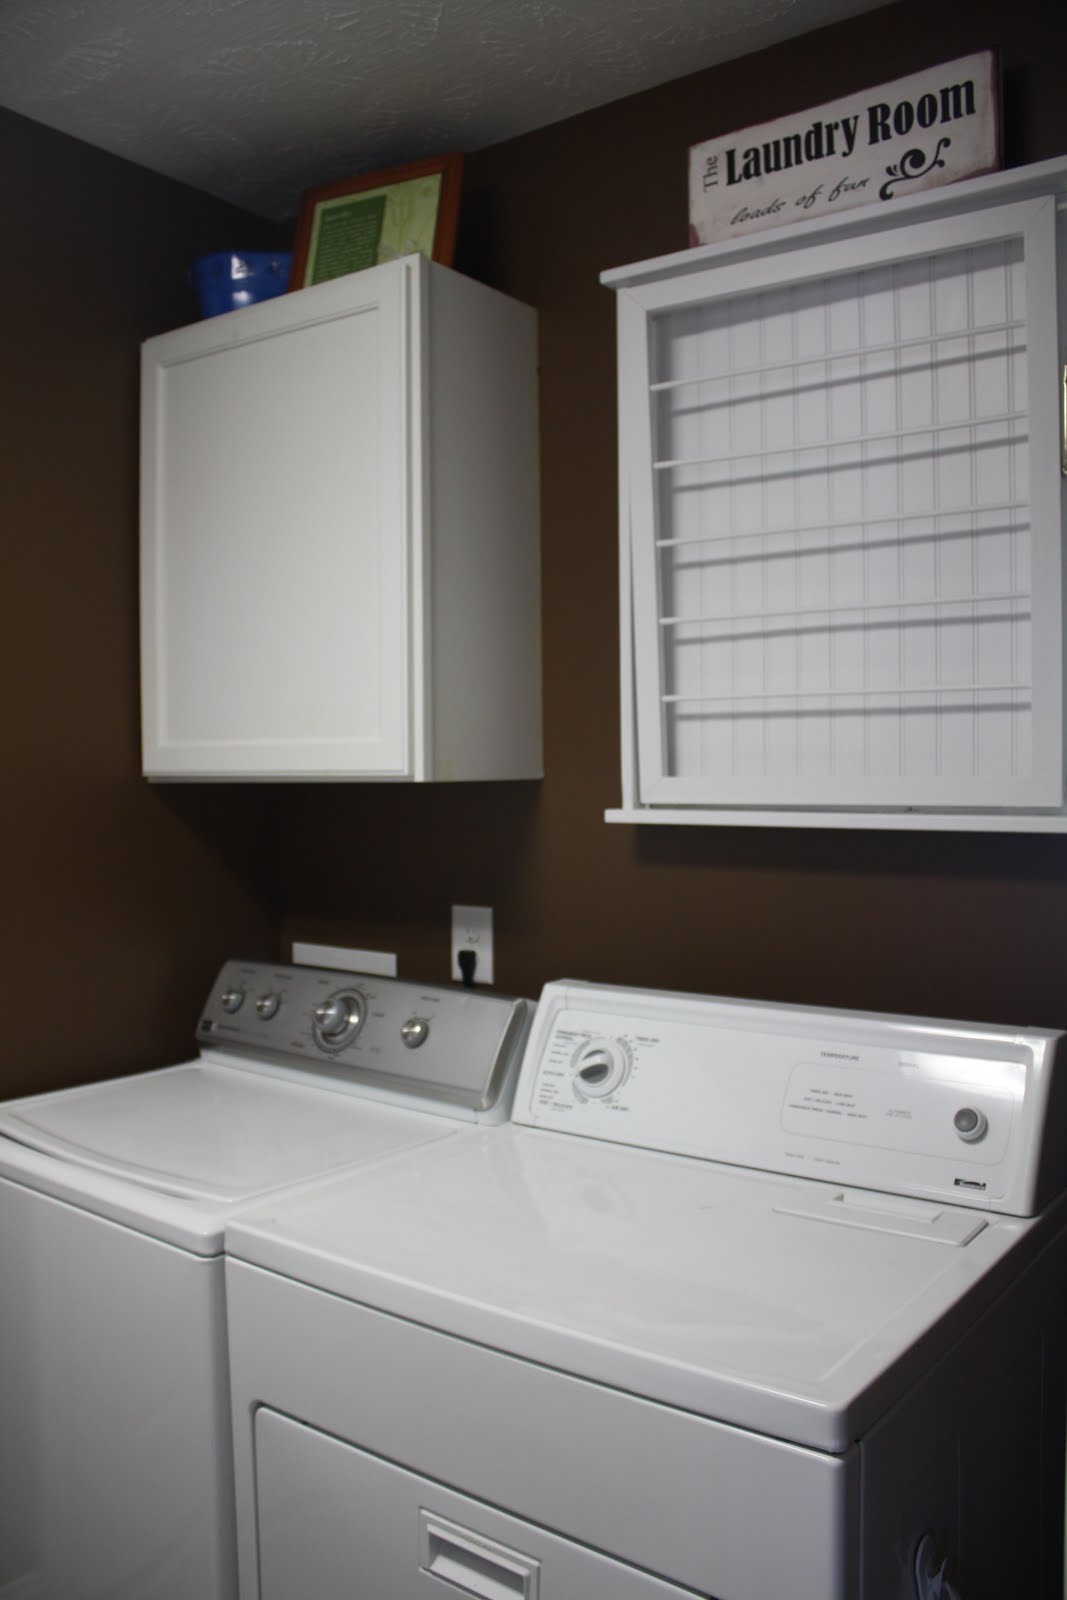
The other side of the room got a few accent pieces too. Above the cupboard I added another one of the room definition quotes (found the printable here) and a bucket I picked up at Hobby Lobby.


And I created a little Laundry Room sign out of scrap wood (painted white then distressed the edges) and vinyl that sits on top of my drying rack. I saw something similar on the HowDoesShe blog and this is my version.


That wall Before:


And After:


The end. :)

Tuesday, February 1, 2011

Laundry Drying Rack


Updated:  Sept 2015

Our laundry drying rack was originally inspired by this knock off, which we beefed up and customized.  I had been dreaming of the concept and talking it up to the husband for years, but it took a move to a new house to get him to finally put one together (in 2011).  It was funny to see how much satisfaction the husband got chopping up the old, not pretty, always-in-the-way, cheap, collapsible drying rack and reusing the dowels for the new drying rack.  We loved the drying rack, as did everyone who saw it and eventually (on a whim) I openend a shop on Etsy and we now sell quite a few of them.

I've gotten better at taking product photos too ;)  This one is our latest.

If you want to see the drying racks in action, check out our laundry room update HERE.

Saturday, January 22, 2011

Before and After - Laundry Room

We've been busy around here (still). I've been very excited about our most recent project - the laundry room. We knew exactly what we wanted to do in this room, even before I saw the house for the first time. (as you remember, Sam did all the house hunting on his own and I only saw photos until we moved out here)

Most important: the "mud" part of the laundry room. We don't wear shoes in the house and since the laundry room connects directly to the garage, all the shoes end up on the floor all over the place. And the coat closet wasn't working either. The kids can't reach the hangers so their coats and backpacks end up on the floor there (when they even make it that far). So we took this space:and Sam worked his carpentry magic with a bench that has shoe cubbies underneath.

(Kaitlyn made these name tags and put them in the cubbies the first night. We didn't keep the tags but we did make sure everyone is now using the cubbies she assigned us)

We added a little interest with some board and batten and, of course, coat hooks. I used the brown paint we had left over from the kids bedrooms (can't let an entire can go to waste can we?!) for the walls.

The bench got stained and covered with about 4 coats of polyurethane (so hopefully it will stand up well to the kids climbing on it).


And there you have it! Oooooo :)I used the old rugs we had been using for the shoes, cut them in half and covered the cut side with duct tape to prevent them from unravelling, and they fit perfectly in the cubbies to catch any dirt the shoes may have.
Here is the final product!And for the laundry side of the room...

Before: the wire shelving (that half the stuff tries to fall through) that was way too high for me to reach well. And of course all the clutter that piles up - it's real life after all.

We found this unfinished cabinet at Home Depot - for $50! The finished ones were closer to $180 each (yikes) but these were on sale. And with the military discount on top of it, I consider that a real bargain. So this guy got a couple coats of white and one coat of poly.We installed it above the washer. Now it's all nice and functional and we're loving the whole room! There are just a few finishing touches I have in the works and this room will be FINISHED! (oh how wonderful it will be to have one room entirely done instead of part of the work in progress)

Oh, and that coat closet I mentioned -
This isn't staged. The hangers really were hanging off the rack for 3 whole days before I untangled them. And see the coats and backpack on the floor?
Well, now it just holds the big cleaning things and a small basket of hats and gloves. I like it minimalist like this - I don't have to fight anything to get the vacuum out.


Next up? Painting the kitchen...

Linking to:
Show and Tell at Blue Cricket Design
Link it up party at Sisters Stuff
Feature Yourself Friday at Fingerprints on the Fridge
giveaways
The Girl Creative