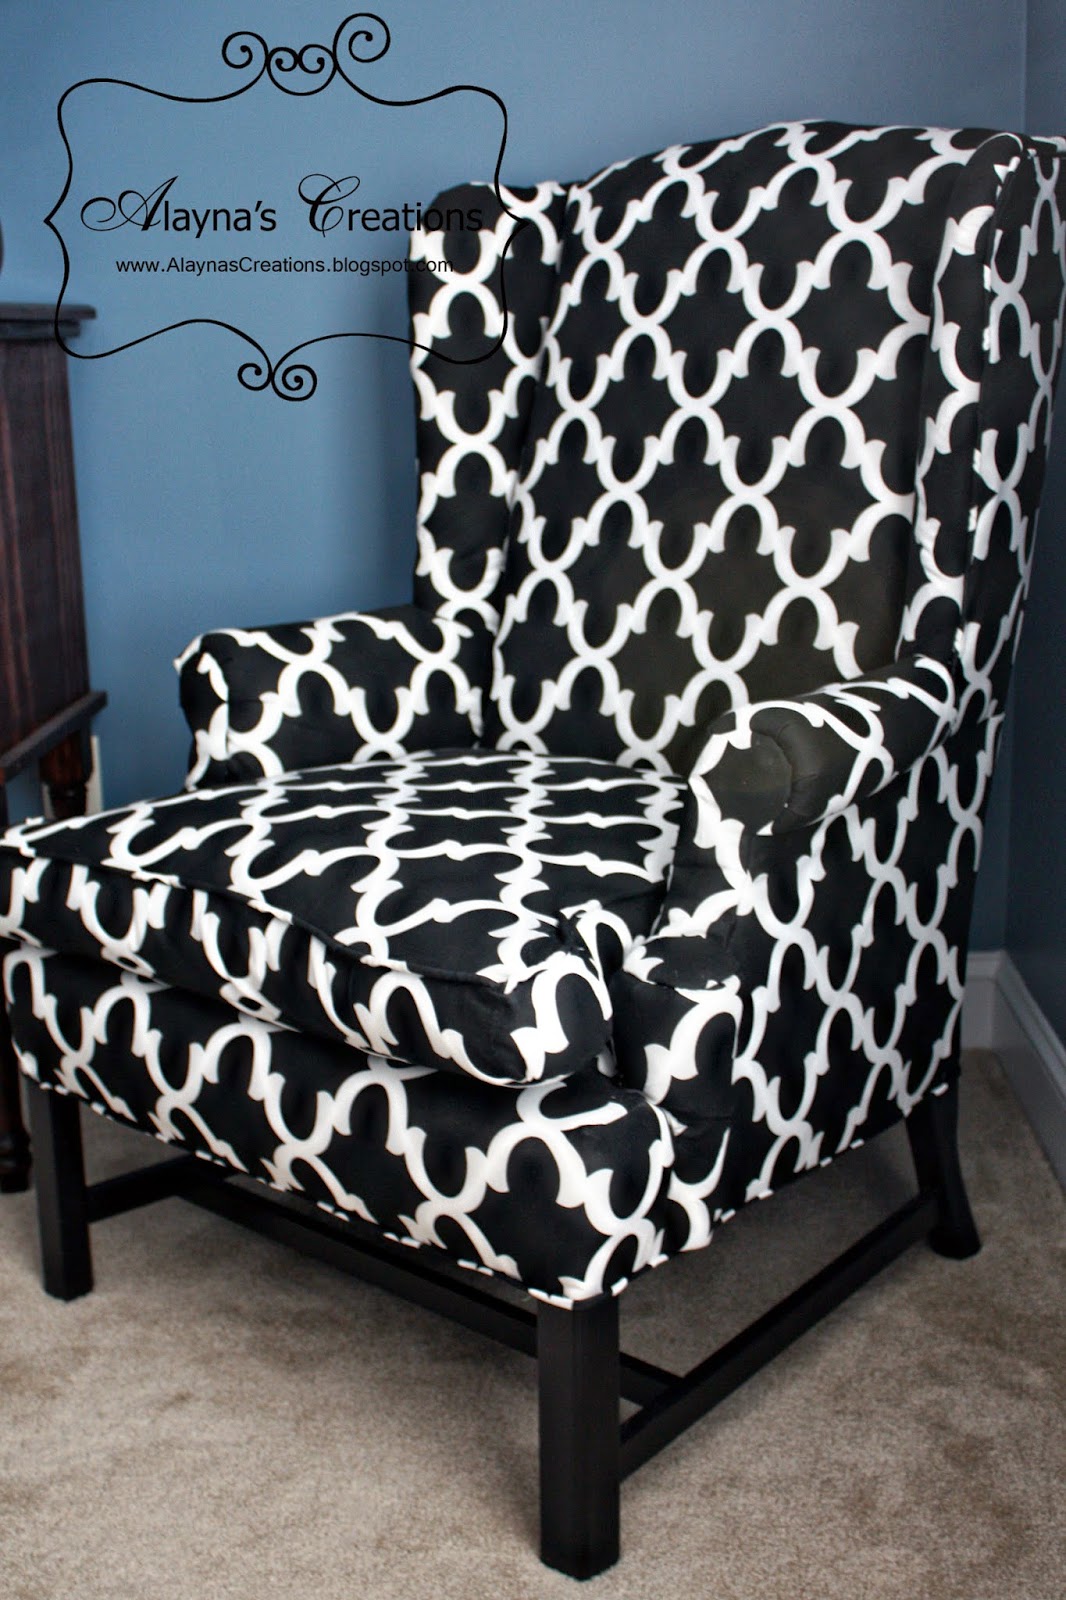
I did it! I did it! I finally tackled my first reupholstery project and woohoo! Success!
I picked up this lovely chair last year (yes a whole year ago, urgh) on a shopping trip with a friend at a Habitat for Humanity Resale Store. We completely filled the back of the SUV on that trip ahaha - more on that part later. This chair in particular cost a whopping $5. Yup. FIVE DOLLARS! I figured at that price even if I messed it up I wouldn't feel too bad. And it obviously needed a little TLC.
Then I started pricing upholstery fabric - yikes! I mean, it wasn't exactly a surprise because back when I was doing design it wasn't unusual to order $125/yard fabrics for custom chairs. But that doesn't work for my budget. I eventually found a small discount fabric place not far from my home, but after a couple trips at different times I still hadn't found anything I loved and most were still upwards of $12/yd. Luckily I stumbled onto a link to fabrics.com and found some great deals. The fabric arrived a little over a week ago and it was finally time to tackle the chair.
I did a quick review of a tutorial I had found on a blog, then grabbed the pliers and dove in.
My trusty sidekick helpfully had her nose in on the fun most of the time.
Do you know how many thousands of staples they put in one chair? Me either but it's a LOT. I gave my hand a break every hour or so of work in the hope that I wouldn't get blisters (I didn't!). And eventually I had it all torn apart.
Then I happily took a trip to the craft store to get more batting, upholstery tacks, and cording to sew the piping. And it wasn't that long (parts of two days' work) before I had it all finished! The husband was actually pretty impressed. He didn't think I would actually finish the project, let alone end up with a decent-looking chair. He should know better than to doubt me, right? ;) (He didn't admit any of this until after the chair was all put together and he had sufficiently praised my efforts lol. So I forgave him.)
Look! It even looks good close up! ;) And yes, I painted the base black before putting the fabric on. I almost forgot to do that part LOL. Some of my other tips?
-Take lots and lots of photos as you pull the old fabric off. It really helps to be able to go back and see the process in reverse, or look at a few details on how to attach the tricky pieces.
-Carefully label (number it when removed, where it went, and which side is the top!) and set aside each piece of old fabric as you remove it. Not only will you be able to use them as patterns to cut out the new fabric, but you can also refer back to them when you are assembling the chair.
-Take your time! This is a labor-intensive process and it takes its toll on your hands and your patience. When my hands were cramping up or I found myself annoyed or ready to rush through a step I would stop for a few hours or the rest of the day. The last thing I wanted was to "mess it up" and then have to see my blunder every time I looked at the chair. So take your time and do it right (or fix it right then) as you go.
The chair now happily resides in our bedroom. I'm this close to having the bedroom completely pulled together. I'll share that soon.
But for now, I'm going to enjoy the chair.


It looks awesome! Congratulations.
ReplyDeletehow many yards of fabric did you use?
ReplyDeleteI think I bought 7 yards of fabric for the chair and had a little over a yard left over. I would probably still yards next time though, just in case I mess up ;)
ReplyDelete